Course Management
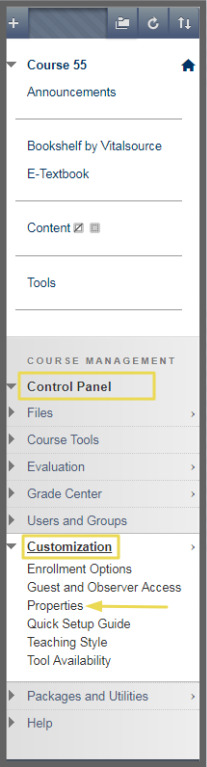
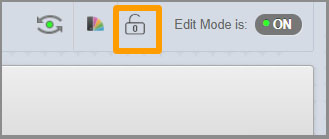
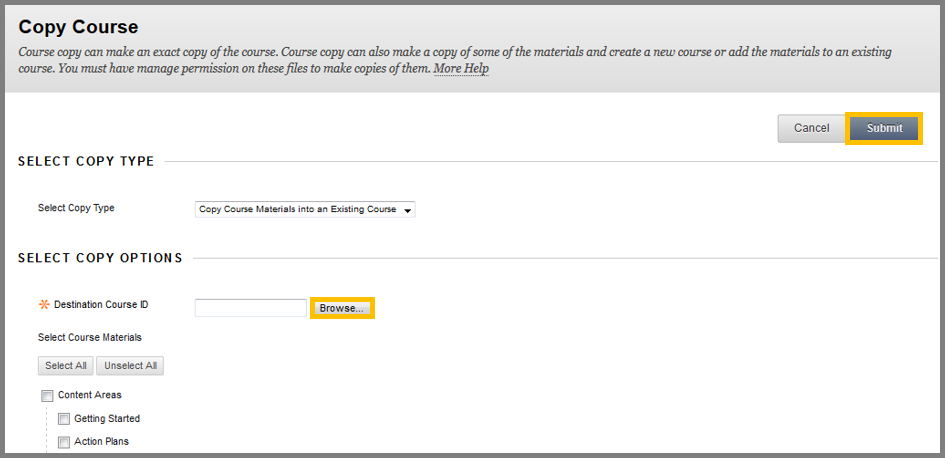
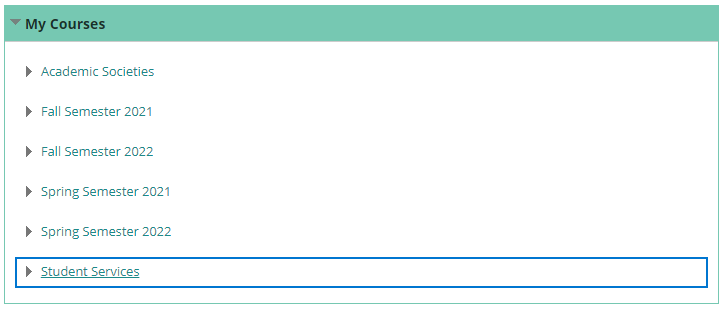
Blackboard Learn courses, are automatically created approximately 10 days before the first day of classes of each semester/session/term. After late registration, the courses are updated and students are enrolled. In case you don’t see your course, you are able to: Create a Service Request on the IRM HelpDesk OR When the Bb courses are created are by default set to be “Unavailable” for students. That is, the students are not able to view the Bb course until you set it visible for them. To make a Bb course available for the students to see follow the steps below: While in the Customization page you can modify your course’s availability. From the main course view , you can now easily see an open or closed padlock icon representing the availability of the course to students and quickly change the availability with one click, saving both time and effort. This new feature can be seen below, next to tools such as Student Preview and the Edit Mode toggle. At the Select Copy Options click “Browse” so as to select the Destination Course ID (the course you wish the content to be copied to). After you select the course, you have to select which contents will be copied. Click the “Select All” button to copy all the content or choose the desired content areas, tools or settings. In the File attachments section: In the Enrollments section click Include Enrollments in the Copy ONLY if you want to enroll the students to the new course that you created. This option is usually and suggested to be left unchecked. Finally, click “Submit” to finish the procedure. Wait for a few minutes and visit the destination course so as to see the material copied. The Export/Archive Course feature creates a back up file. This .zip file contains the course’s content and tools and can be imported in other courses. In order for the package to work properly one should not modify or extract its contents. To archive – backup a Bb course follow the below steps: In the File attachments section: Finally, click Submit. After a few minutes, click the “Refresh” button to see the link to the .zip file that is created. To download it, simply click it and select in the window that will pop up, the location you wish to save it. You can import this file into a course, by using the Import Package tool, described below. To Import the content of your Archive into another container, visit the destination container. Under the Control Panel expand the Packages and Utilities section and click the “Import Package / View Logs” option. Click the “Import Package” button and the Import Package page shows up. Here, you select the Archive file you wish to import by clicking the “Browse My Computer” button and choosing the file. After that, check the materials you want to import (i.e. Content Areas, Announcements and Settings) and click “Submit”. Wait for a few moments and refresh your container’s page to see the imported material added. Note that the material does not replace but it is added in the existing contents of the container. Notice: Never upload an Archive Course package that has been edited since it was created and downloaded. Opening the .ZIP file and changing any of the files in the Exported Course package will result in unstable and unpredictable behavior when the Course is imported. Semester/session/term running courses for Deree Undergraduate studies become “Unavailable” -hidden from students, 15 days after the end of the Re-sit examinations. Instructors though are still able to access and work with the courses. The containers are removed approximately a year after the last day of final examinations (Instructors are always notified via email for the course removal date). Semester/session running courses for the Graduate School studies are removed approximately after two years of their completion (Instructors are always notified via email for the course removal date). If you want to remove a prepatory (Prep) course, send an email to Blackboard Administration: [email protected] You are able to group your courses by the Term they have been created (i.e. Fall Semester 2015). A term is mainly a label with a date range which will be used to define ACG’s semesters, terms, sessions, e.t.c. It will also be associated with Academic Societies and Student Services. The Terms are used for organization and classification purposes. To be able to group the courses by Terms, you need to enable the option. To do this, follow the steps below: To view the contents of a term i.e. Fall Semester 2022, you will click the arrow so as to expand or collapse its contents.


Click “Include Grade Center History” if you want to include all the data from Grade center .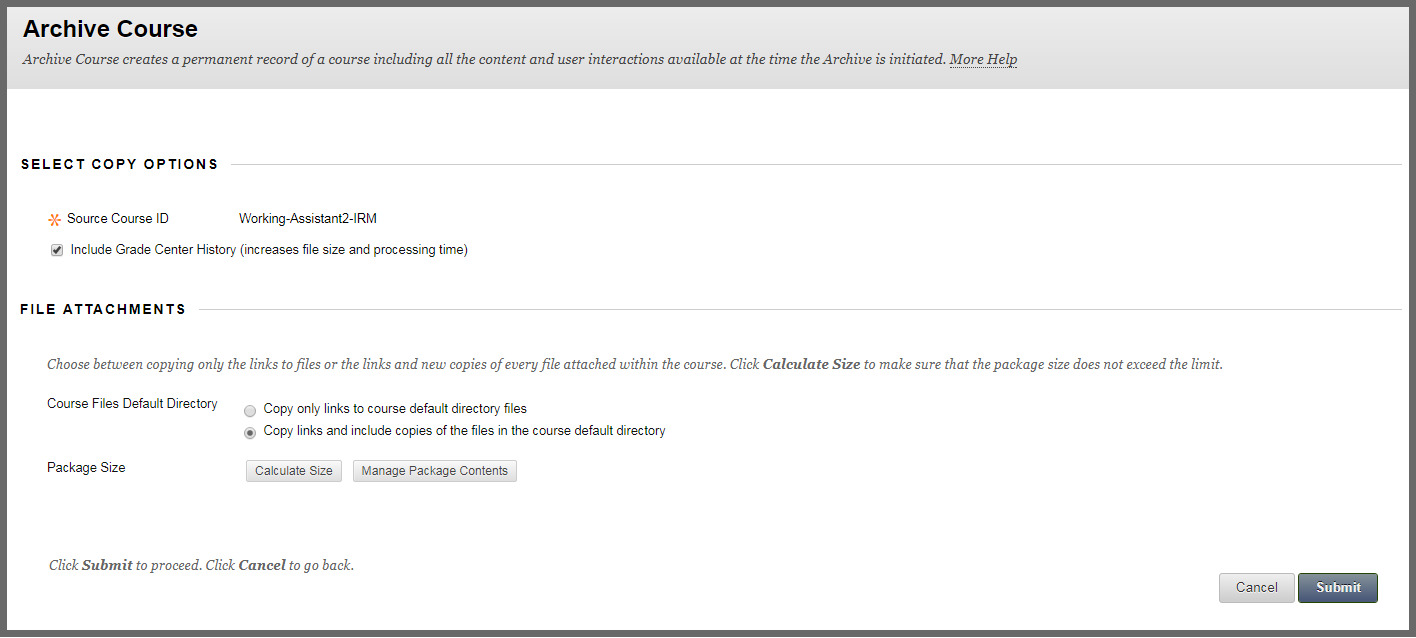


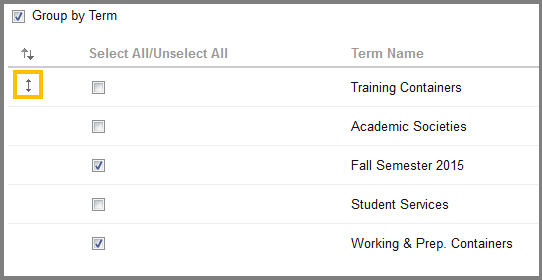
Reorder Grouped Courses
Moreover, when managing a course, there is a list of tools available for the instructor in order to modify and customize the courses and their content. The tools are divided according to their use in eight different categories. You will find them in the Control Panel of the course. To view the details of these categories, click the orange links below:
| Tools | Description |
|---|---|
| Files | Contains a search function that let you search files and folders and modify content withing the course. |
| Course Tools | A group under the Control Panel that has all available tools that can be added to the course via Content pages. |
| Evaluation | Evaluation provides tools for tracking user performance and activity. In the Evaluation section of Control Panel you can monitor the performance of the students and groups through Course Reports, Performance Dashboard, Retention Center and SCORM Reports. For information please take a look at the drop-down lists. |
| Grade Center | The Grade Center can record data, monitor student progress and communicate information to students, instructors and administrators. It is also a valuable tool for assisting decision making on taking action to promote student and institutional progress. |
| Users and Groups: | Users: The instructor can enroll user to the course and change their roles.
Groups: You can create groups of students to collaborate on academic work and you can do so, by creating them one at a time or in sets. Each groups has access to each own homepage and to various tools and links that help students collaborate. |
| Customization | In this section you can modify your course and its properties as you see fit. You can also change the name of the course, set its availability and select its appearance by adding a theme and a banner. |
| Packages and Utilities | A group under the Control Panel that has tools that help in the handling of Blackboard data. Tool from this section help to delete, copy, back up and check for link availability. |
| Help | Contain link to external help in the use of Blackboard. |