Once you log in you are displayed with the initial page of the environment.
At the top of the page there are four fixed buttons and two tabs.
Let’s begin with the four buttons:
1. Blackboard Learn: link to ACG’s website 
2. “Open Global Navigation Menu” – By clicking the arrow next to your name. The menu provides you with quick access to your courses and your personal information settings.
1) Courses – Find all the courses to which you are registered at the moment (the same can be seen by clicking the Courses tab at the initial page).
Keep in mind: Students are enrolled in their Bb courses after the end of online late registration and at the latest by the first day of classes. If you cannot see your course for any reason, notify your Professor. He/she will make sure that you are enrolled in the Blackboard course or that the course is on and available for the students to see.
2) Tools – Find links that gives you access the following:
- Announcements
- Send Email
- User Directory
3) Settings – Find links that allows you to make changes according to your preferences (see Settings table).
At the end of the menu we have two more features:
- Home
- Help – supports you with help in Blackboard through manuals, tutorials and more.
| Settings Table | Description |
|---|---|
| Change Text Size | Use the instructions given to change the text size according to browser |
| High Contrast Setting | Click it if you want to use your operating system’s high contrast or keep the Blackboard style |
| Personal Information | Edit personal information by changing the appropriate fields, change your password and specify which fields of your personal information should be publicly available |
| Edit Notifications Settings | Manage notification settings for the courses you are enrolled in |
| Notification Dashboard | By clicking it, you go to your initial Blackboard environment where you can see the notifications for all the courses you are enrolled. These notifications appear in different modules that you can add, remove and customize |
| Privacy and Terms of Use | Blackboard will collect, use, and store your personal information that is necessary to use this application and the related functionalities. Blackboard handles this information on behalf of your institution. |
3. Log out: The Log out button ![]() is located at the upper right corner of your page. It logs you out of the Blackboard platform and closes your page in the Blackboard server. Always remember to LOG OUT when you finish, in order to deactivate your account.
is located at the upper right corner of your page. It logs you out of the Blackboard platform and closes your page in the Blackboard server. Always remember to LOG OUT when you finish, in order to deactivate your account.
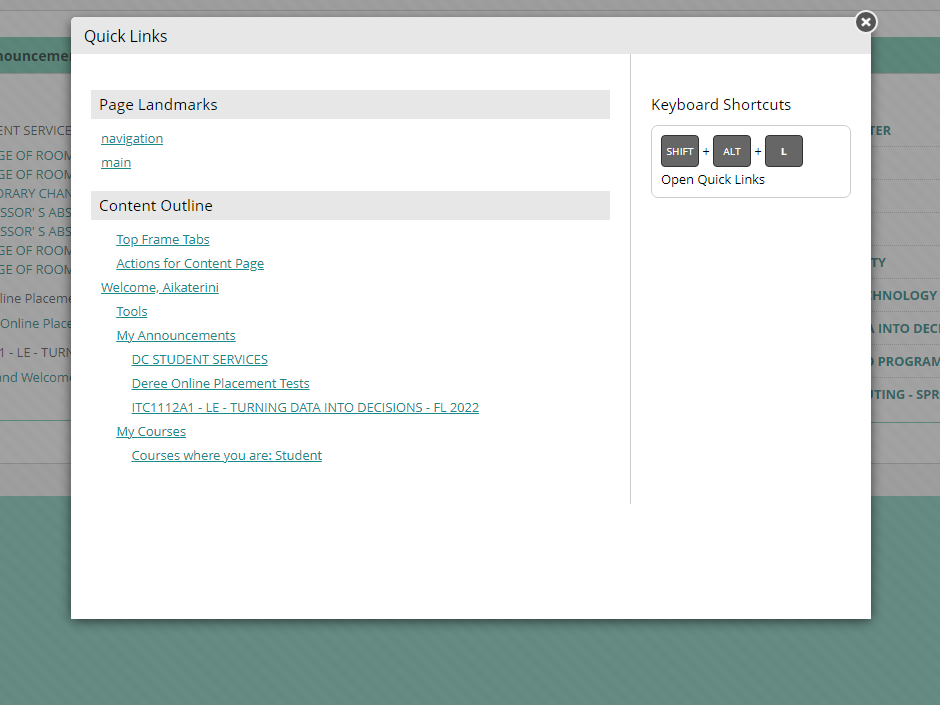
4. Quick Links ![]() – It gives you an outline of the page you currently are. By clicking the icon, a pop-up window opens that displays all of the page landmarks and headings, allowing you to select one and jump directly to that location within the page. Any available keyboard shortcuts for the page are also displayed.
– It gives you an outline of the page you currently are. By clicking the icon, a pop-up window opens that displays all of the page landmarks and headings, allowing you to select one and jump directly to that location within the page. Any available keyboard shortcuts for the page are also displayed.
The two tabs are:
My Institution
The tab consists of three default panels: Tools (A), My Announcements (B) and My Courses (C). (If you would like to add modules the number of panels will increase)

- Select the Modules you would like to appear in “My Institution” tab by clicking the “Add Module” button (D) and checking the corresponding boxes (always remember to click OK for applying your changes).
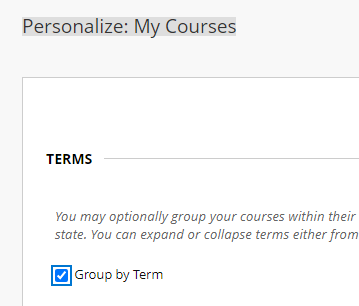
- Personalize your page from the Personalize Page button (E) (always remember to click Submit for applying your changes).
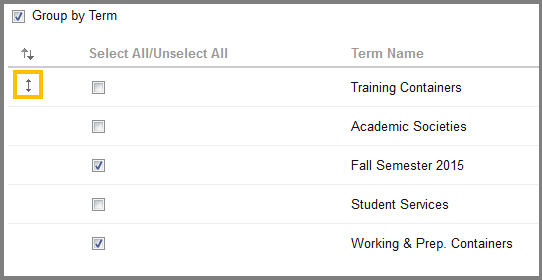
- Alter the order of the boxes with the Keyboard Accessible Reordering: Modules button (F), according to your preferences.
If you want any further assistance please go to “Access Bb” > “My Institution Tab”.
Courses 
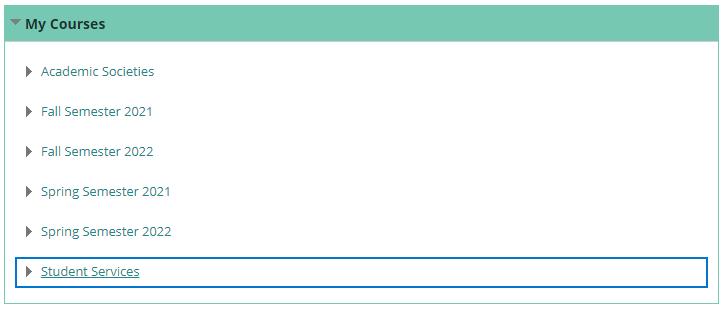
“My Courses” – Displays a list of the courses that you are enrolled at the moment and through it you can access each course page. The same can be done by the “Courses tab”.

A. Course Search – Type the name of the course you are looking for and click Go.
B. Course List – Look for your course and click its name so as to open it.

The final product is :