Customization
In this section you can modify your course’s tools, name, and course availability to students as you see fit. You can also change the appearance of your course. For example, to see how to make a course available to students, expand Properties and visit the Set Availability area.
To access Course Properties :
- Make sure Edit Mode is on.
- Click Control Panel > Properties > Customization.
While in the Customization page you can modify your course and properties as you see fit.
The properties you can modify are :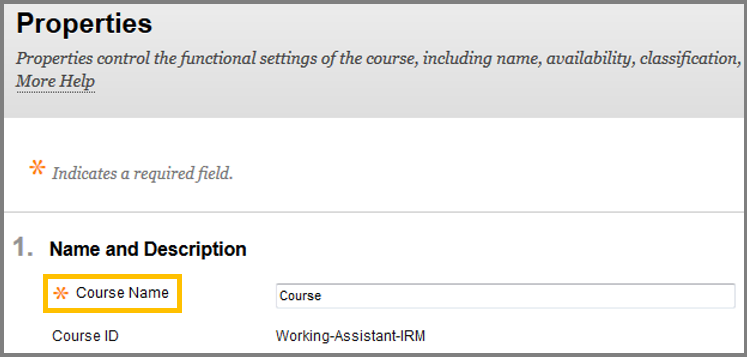
- Name: Change the name of the course.
- Class Clarification: Ignore this field, as it exist to ensure backwards compatibility.
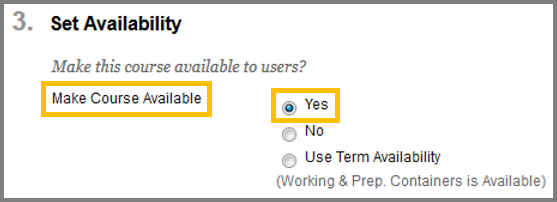 Set Availability: Click Yes to make this course available (visible) to users. If No is selected , users in this course cannot access it. To view a video tutorial on course Availability, click here.
- Set Course Duration: Time user can interact with the course. Continuous means course is always available, Select Dates means the course is available only on specific date and Days from the Date of Enrollment means a time limit is set from the day the student enrolls.
- Select Language Pack: Select in which language the course will be displayed and click Yes in the Enforce Language Pack if you want to enforce this language and make the users of this course unable to change it.
- Submit: Click Submit to save changes.
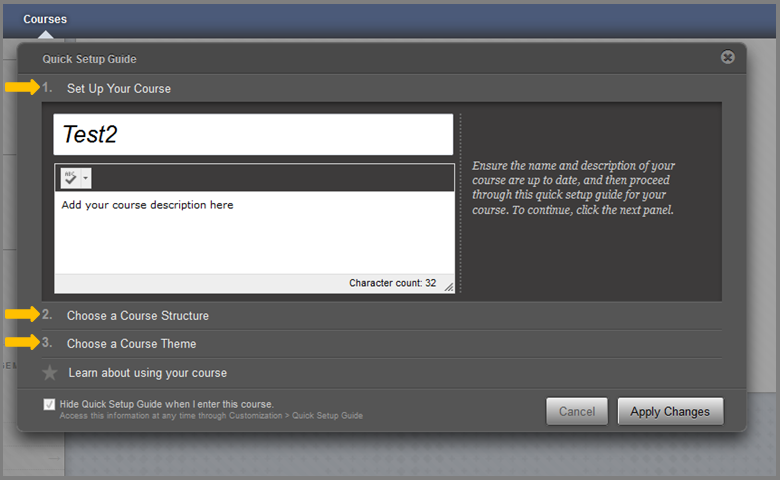
A useful tool that let you change some attributes and appearance of your course through simple steps.
These steps are :
- Setup your Course : Here you can change the name of your course and add/change the description of it.
- Choose a Course Structure :Here you are able to select the structure of your course menu, meaning you are able to select which menu item will be available to the user. You can select a template which are existing groups of menu items that are structure that way to fulfill your teaching goals.
- Choose a Course Theme : Change the color of the background and buttons according to your tastes.
Click Apply Changes to save your changes.
Contain style settings, course structure and course entry point.
Using this page you can :
- Select Course Structure: Here you are able to select the structure of your course menu, meaning you are able to select which menu item will be available to the user. You can select a template which are existing groups of menu items that are structure that way to fulfill your teaching goals.
- Select Course Entry Point: Here you can select from the drop-down list where the students will be directed when entering the course.
- Select Course Theme: Change the color of the background and buttons according to your tastes.
- Select Menu Style: Here you can select the text color and background color of menu items and buttons. e.g. You can turn all menu item into yellow with a green background.
- Default Content View : Changes how content is presented in content areas from this point forward. This does not affect previous content areas unless you select the Apply this view to all existing content check-box.
- Select Banner: Uploads a banner image from your computer that appear at the top of the courses entry point. The suggested size for a banner is 200 x 600 pixels.
- Click Submit.
Here you can decide which tools are available in your course and content areas. Ignore guest and observer columns as they are unavailable at this time. From here you can select which tools are available in your course and which user have access to them.
Tool Availability settings
Navigate to Course Management > Customization > Tool Availability.
Select or clear the check boxes of the tools you want to use in your course and which user have access to them
- Available: The tool is available throughout the course and open to all user that are permitted to use it by their role.
- Visible to Guest: The tool is visible, meaning read-only but not usable to guest, when they are permitted to the course.
- Visible to Observers: The tool is visible, meaning read-only but not usable to observers, when they are permitted to the course.
- Available in Content Area: You can place a link of a tool in in content areas of your course.
Please note that if the tools become unavailable there will be no content loss.
If the tools are made available again, the content will become accessible again.
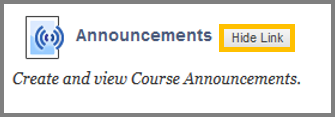
- Navigate to course menu and click Tools and then click Hide/Show link.
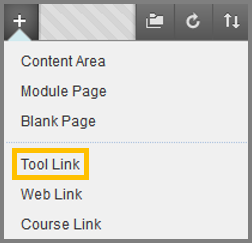 Access individual tools from the course menu.
- Access individual tools from a content area.

