Create Web Link
To create a Web Link in a Content area:
- Open a Content Area i.e. Module Leader Reports
- Roll over the Build Content button
- Click Web Link.
- Fill in the Name field and select the color you want that Name to appear.
- Fill in the URL of the page you want the web link to redirect to.
- Enable the Tool Provider option if you want to integrate external web based Learning Tools.
- You can add a description of the web link in the Text editor (VTBE)
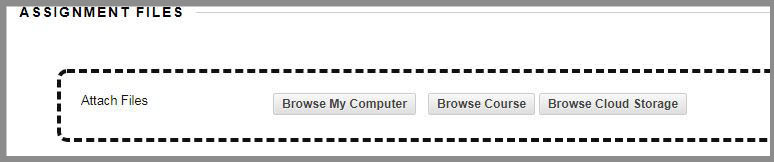
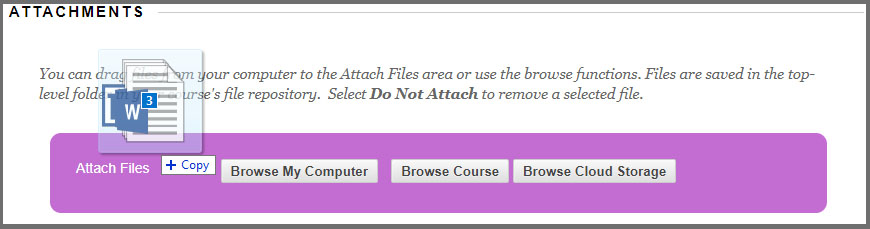
- Click the Browse my Computer if you want to upload a file from your computer or click Browse Course if you want to select a file that you have already uploaded in this course (e.g. A video file from another content page). You can upload multiple files. Save time by uploading documents directly from your preferred Cloud storage. When you create web links, you can drag one or more files from your computer to the highlighted Attachments area. If the browser allows, users can drag a folder of files and the files will upload individually.
- Open in New Window: Click Yes if you want to open the web link in a new window.
- Select the Standard Options you want to add to the image.
| Standard Options | Description |
|---|---|
| Permit users to view the content item | Select Yes to make the content available to users. If No is selected this content is unavailable. |
| Track number of views | Select Yes to turn on Tracking Reports. This generates usage reports for the item. |
| Select date and time restrictions | Select the range of date that this item will appear. Select the Display After check box for the item to appear after a specific date. If this option is checked, select the corresponding date and time. Select the Display Until check box for the item to appear until a specific date. If the option is checked, select the corresponding date and time. |
11. Click Submit.